


What is Node-RED?
Node-RED is a low code programming tool that is built on Node.js, that uses a drag-and-drop style interface to create event-driven applications that work either locally, on edge devices or in the cloud. This tool is very useful for users with little to no coding experience, who would like to deploy applications with minimal coding required. Due to its flexibility and ease of use, Node-RED is ideally suited for building Home control dashboards and automations, as well as industrial IOT networks, such as Siemens Industrial Edge. Due to its small size, Node-RED can be deployed on miniscule hardware such as the Raspberry Pi.
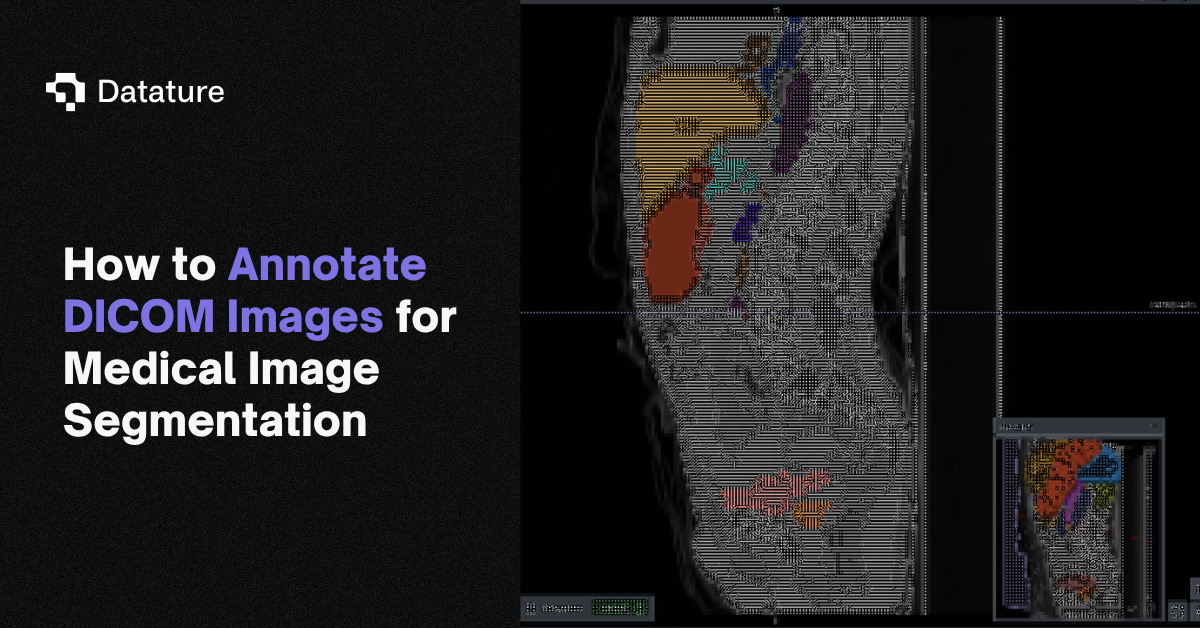
TensorFlow in Node-RED
TensorFlow is a cornerstone and industry leader for open source machine learning libraries.To allow for more wide-spread usage, TensorFlow supports model deployment in JavaScript environments such as Node-RED with TensorFlow.js. By installing several open-source Node-RED repositories, we will be able to create a simple Node-RED flow that loads a TF.js object detection model, perform predictions with this model, and visualise the results.
Getting Started
Download and Install Node.js
Head over to the Node.js website, and depending on your operating system, download and install Node.js for your computer. It is recommended that you install the latest version of Node.js, but the subsequent pipeline should work if you have a Node.js version of greater than 16.0.0.
Download and Install Node-RED
To install Node-RED using Mac or Linux, you can use the npm command that comes with node.js, as such:
If you are using Windows, do not start the command with sudo.
Alternative methods such as installing with Docker or Snap can be obtained here.
Running Node-RED
Now that you have Node.js and Node-RED both installed, you can begin running Node-RED. Within the command prompt, enter a simple `node-red`, and hit enter to create a Node-RED server running in your localhost at port 1880. You can access the server with your browser using the following URL: http://localhost:1880 .
With this step, we are now able to begin integrating TensorFlow model predictions and visualization with Node-RED.
Predictions Using a Pre-Trained TensorFlow.js Model with Node-RED
Install the Necessary Packages for the Flow
To begin performing predictions using a pre-trained TensorFlow.js model with Node-RED, the following modules are needed.
- node-red-contrib-browser-utils
- node-red-contrib-image-output
- node-red-contrib-tensorflow
To install these modules:
1. Open the Palette within the User Settings by hitting Alt-Shift-P.

2. Click on the Install Tab

3. Search for the modules listed above
4. Click on the Install button for each of the modules listed above

Understanding the Nodes To Be Used
1. file inject tool (from the input tab)

Upon deploying the flow, you can click on the tool to add a file into the pipeline. This tool is used to load the image and the label map.
2. image tool (from the output tab)

3. cocossd tool (from the analysis tab)

Upon deployment of the flow, this node will load the pretrained COCO-SSD TensorFlow.js model. It will then accept an image, perform predictions, and visualise the bounding boxes on the original image.
The flow should look like this:

1. Input Image
When the flow is deployed, this node will accept the image for prediction.
2. cocossd
This node will accept the image input, perform predictions and visualise the predictions.
3. Image Preview
This node will portray the visualized predictions. In the node configurations, remember to set the property field to msg.annotatedInput, as below:

Start Deploying!
Once the workflow is complete, you can begin deploying your flow! Once your flow is deployed, provide an input image and watch the magic happen.

Potential Errors
Some potential errors may occur when setting up this specific flow. Should you encounter the error,
It means that your version of node-red-contrib-tensorflow is mismatched with the tensorflow’s node version.
To fix this, run the following command:
`cd ~/.node-red; npm audit fix --force`
This will downgrade node-red-contrib-tensorflow to version 0.2.2 , which resolves this issue.
Predictions Using a Custom TensorFlow.js Model with Node-RED
The above flow only works if you are content with a TensorFlow model that is pre-trained on the COCO dataset. However, in most industrial use cases, models need to be specifically tuned for their purposes, and a pre-trained model will not suffice in these scenarios. Unfortunately, the module node-red-contrib-tensorflow does not provide the option to load a custom Tensorflow.js object detection model.
Nonetheless, it is still possible to perform predictions and visualisations on your custom TensorFlow.js with Node-RED. Here’s how you can perform it:
Install the Necessary Packages for the Flow
To begin creating our flow, we first have to install the following modules to have access to several of their nodes:
- node-red-contrib-browser-utils
- node-red-contrib-image-output
- node-red-contrib-post-object-detection
- node-red-contrib-tf-function
- node-red-contrib-tf-model
To install these modules:
5. Open the Palette within the User Settings by hitting Alt-Shift-P.
6. Click on the Install Tab
7. Search for the modules listed above
8. Click on the Install button for each of the modules listed above

Understanding the Nodes To Be Used
4. file inject tool (from the input tab)
Upon deploying the flow, you can click on the tool to add a file into the pipeline. This tool is used to load the image and the label map.
5. image tool (from the output tab)
The image tool is used to visualize both the original image, as well as the visualized predictions.
6. change tool (from the function tab)

This tool is used to add an extra field to some output nodes. This is so that the join node can identify their origins later in the flow.
7. join tool (from the sequence tab)

The join tool combines the outputs of several nodes and joins them into a single output.
8. tf - function tool (from the Models tab)
This serves as a node where we implement some custom code to make the outputs of the preceding node compatible with that of the subsequent node.
9. tf - model tool (from the Models tab)

Loads our TF.js model at the start of the flow, and is responsible for performing predictions given an image.
10. bbox - image tool (from the Models tab)

Displays the predicted bounding boxes on the image provided.
Creating a Directory For Your TF.js Model
Your TF.js model should be within the directory, with the following contents:

The model file model.json contains the architecture of the model. The weights files are in the format group1-shardXofY.bin .
Setting Up a Simple Local HTTP Server to Host Your TF.js Model.
With Python, a Local HTTP Server can be simply set up by going to your project directory and entering either of the following commands:
Creating the Workflow
The overall workflow should look like this:

The flow goes like this:
4. Input Image
When the flow is deployed, this node will accept the image for prediction.
5. Add Image Topic
This change node will set text “image” in the topic field of the input image. The settings for this node should look like this:

6. Pre Processing
This tf - function node helps to ensure that the image is compatible with the next node MobileNet Model. It contains the following code:
7. MobileNet Model
This tf - model node will use the model URL that is provided to load the TF.js model when the flow is first deployed. It will then accept any pre-processed image as an input, and perform predictions on it.

8. Post Processing
This tf - function node will ensure that the output from the MobileNet Model node is compatible with the subsequent Matching Label Map node. It contains the following code:
9. Add Objects Topic
This change node will add the string ‘objects’ to the topic field of the output of the Post Processing node.

10. Label Map
When the flow is deployed, this node will accept a label map with the following format:
11. Label Map Processing
A parser to extract the label ids and names from the uploaded label map. It contains the following code:
12. Add Label Map Topic
This change node will add the string ‘labelMap’ to the topic field of the output of the Label Map Processing node.

13. Combine Message
This join node will combine the image, objects and label map outputs into a single message. Set the mode to “manual”, then set the field at After a number of message parts as 3, while ensuring that the and every subsequent message checkbox is checked.

14. Matching Label Map
The output label ids of the predictions are matched to the label name in preparation for visualisation. It contains the following code:
15. BBoxImage
This bbox - image node accepts the output of the node Matching Label Map as an input, and visualises the bounding boxes onto the original image. Ensure that the Objects field is set as msg.payload.objects, and the Image field is set as msg.payload.image.

16. Predictions
This node portrays the visualisation of the bounding box onto the original image.
Deploy the Flow
Once the flow has been successfully set up, hit the deploy button located at the top right hand corner of the screen to begin! Once your flow has been deployed, you should subsequently see a green box at the bottom of the MobileNet Model node, accompanied by the text “model is ready”.
Upload Your Image and Label Map
Next, click on the button on the left of the Input Image node to upload your test image.You should instantly be able to observe the preview of the original image directly under the Original Image node. To upload your label map, click on the button on the left of the Label Map node, and upload your label map.
That’s a Wrap!
Should you have followed the above steps, you should now be able to see the visualisations of the predictions directly under the Predictions node, and that’s a wrap!
In the figure below, we have used a MobileNet model that is trained on detecting cars and parking systems in a carpark.

Additional Deployment Capabilities That You Could Explore
Datature provides a multitude of deployment options, such as hosting your model locally as a TensorFlow or ONNX model, or more specifically for edge devices with TFLite. Additionally, if the custom setup on your end sounds overly tedious, you can consider hosting your deployment model on Datature as well. In just a few clicks, your model will be deployed on our cloud and be ready for prediction! To learn more, head over to our API Deployment page to learn more about our cool feature!
Our Developer’s Roadmap
At Datature we are committed to facilitate a seamless end-to-end machine learning experience for first-timers and advanced developers alike. To that end, we plan to create Node-RED nodes that completely remove the necessity to code using the tf - function nodes. In addition, we will also provide our users with the choice to export our models to the TF.js format to increase the deployment options available, so do stay tuned!
Want to Get Started?
If you have questions, feel free to join our Community Slack to post your questions or contact us about how Node-RED and TF.js deployments fit in with your usage.
For more detailed information about the Model Export formats offered in Nexus, or answers to any common questions you might have, read more about Nexus on our Developer Portal.
.png)
.png)