


Introduction
If you have ever performed image recognition using machine learning, you know the importance of having a good dataset. The quality of the images that you use for training directly affects the accuracy of your trained model. And collecting images for training is usually the most challenging part of the process — finding adequate and good images for your model to learn. Finding the right images is not only a costly affair, but it can also be a laborious one — in certain industries (such as the healthcare industry) images may not be easily collected and used due to legal and privacy restrictions.
In machine learning, there is a technique that is commonly used by data scientists to supplement the images dataset that they use for training — image augmentation. In this article, I will discuss what image augmentation is, how it works, why it is useful in machine learning, and how to perform image augmentation through:
- Coding using the Keras library, and
- A no-code solution using the Datature platform
What is Image Augmentation?
Image augmentation is a technique that creates new images from existing ones. To create new images from the existing ones, you make some small changes to them, such as adjusting the brightness of the image, or rotating the image, or shifting the subject in the image horizontally or vertically.
Why is Image Augmentation Important?
Image augmentation techniques allow you to artificially diversify your dataset. This can be significant in a variety of situations. Image augmentation can assist in artificially creating different images to bolster underrepresented classes or challenge your model to learn more critical features despite visual variance. Ultimately, image augmentation promotes your dataset’s ability to be representative of the broader data space that your model will be exposed to in inference. This allows you to improve the accuracy of your model by enhancing the robustness of your model to recognize new variants of your training data, and thus further the model’s ability to perform inference on unseen images.
Types of Image Augmentation
Image augmentation comes in many forms — here are some of the common ones:
- Vertical shift
- Horizontal shift
- Vertical flip
- Horizontal flip
- Rotation
- Brightness adjustment
- Zoom In/Out
Image Augmentation Using Keras
I will first demonstrate the various image augmentation techniques using Python and Keras. If you want to try along, make sure you have the following software and packages installed:
- Anaconda. You can download Anaconda from https://www.anaconda.com/products/distribution/.
- TensorFlow. You can install TensorFlow using the command pip install tensorflow
Once Anaconda and TensorFlow are installed, create a new Jupyter Notebook.
For this example, I am going to use an image named container.jpg, located in the same folder as my Jupyter Notebook.

The following code snippet uses the ImageDataGenerator class in Keras to apply the various augmentation techniques that I have discussed.
The output now shows the container image with the various augmentations applied:

Other Image Augmentation Techniques
Besides the typical image augmentation techniques that I discussed earlier, there are also other more advanced image augmentation techniques that you can use that can target more specific effects in model training:
Cutout
Cutout is an image augmentation and regularization technique that randomly masks out square regions of input during training. This is useful for forcing your model to learn to focus on more critical features in the image rather than on unrelated parts.

Motion Blur
Using convolution filters and a randomly generated line, the motion blur effect is artificially created on the image along the generated line. This can be useful in contexts where the model is performing inference on visual data with moving objects, so that the model can adapt to the reduced feature clarity that would be present.

So with all the various image augmentation techniques, which one do we choose? There are no hard-and-fast rules on the best image augmentation techniques that you should adopt for your computer vision projects. It depends on the dataset you have, the type of images you are working with, and the context that you plan to use your model in.
For example, if you plan to use an object detection model in outdoor environments, you might want to augment your images by adding artificial effects to simulate a variety of outdoor conditions, such as sunlight, fog, rain, or snow.
While adding augmentations to your images will make your model more robust to those types of effects, it also makes the training process more difficult for your model, so your model may take longer to train or may not achieve as high of an accuracy in training. Therefore, augmentations should be selected intentionally with regard to your use case.
Ultimately, deciding on which techniques to use depends on the result of your testing. When possible, you should train your model using different combinations of the various techniques, and evaluate the result of each test.
Using the Datature Platform for Image Augmentation and Training Your Model
Instead of performing the image augmentation by hand (well, code actually), wouldn’t it be cool if there is a tool that can help us automate this entire process? This is where the Datature platform comes in.
Datature is a platform for training and deploying machine learning models, all without needing to code. The platform allows users to manage multiple machine learning projects, across multiple data sources.
With Datature, you can simply onboard your image dataset as well as existing annotations to the platform.
For more information, you can refer to our user guide here.
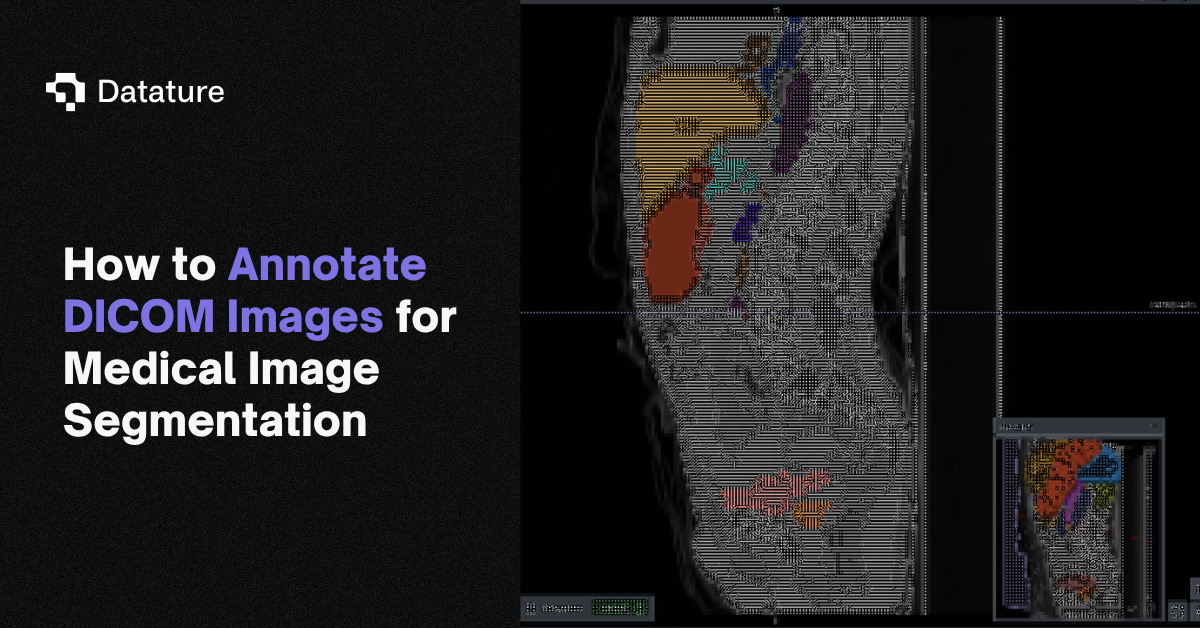
In the tutorial video, we will show you how you can collaboratively annotate masks / polygons on the Datature. You will now be able to annotate the images. You have a few tools at your disposal to annotate the image and assign it a label —regular annotation tools such as rectangle, polygon, paintbrush, and freedraw, and Intelligent Tools such as IntelliBrush. We support polygonal tools and a bunch of tag management interfaces to ensure that teams build their datasets, fast.

Starting a workflow
Next, you need to create a workflow for your machine-learning process. In the Project Overview page, click the Workflow item on the left panel and click the Create Workflow button:

In the Workflow canvas, look towards the bottom left-hand corner and select Auto-Suggest Workflow:

Click the Augmentations node:

You can see that the Augmentations node offers a series of augmentation techniques broadly classified into:
- Random Position Augmentations
- Color Space Augmentations
You can turn on the Advanced Mode option if you want more granular control over the various augmentation techniques. For this example, turn on the Advanced Mode option and enable the following options under the Color Space Augmentations section:
- Cutout
- Random Rain
- Random Sun Flare
You should also enable the following options under the Random Position Augmentations section:
- Flip Horizontal
To preview the augmentation performed on your images, click the Preview Augmentations button located at the bottom of the page:
You should now see the various augmented images created by the tool. To compare the images with the original versions of your images, hover your mouse over the View Original button and you should now see the original version of your images:

Training the Model
With the images annotated, it is time to train a model to perform the detection of workers in an image. To do that, go back to the project workflow page.
In our Workflow canvas, we have selected Models > EfficientDet Models > EfficientDetD1 640x640:


If you would like to choose a specific model, right-click on the canvas and select from the range of models that we support - (RetinaNet, FasterRCNN, EfficientDet, YOLO, MaskRCNN, DeepLabV3) - to create a new Model module. Then, right-click on the old Model module to delete the module and link your new model module to the rest of your workflow.
Finally, click the Run Training button located in the bottom right-hand corner:
You will now get a preview of the training and have a chance to alter the hardware configuration used for training your model.
Click Start Training:

When the training is done, you should now see the various metrics such as the losses, recalls, and precisions:

Exporting the Trained Model
The final part of the training process is to export the trained model so that you can use it in your TensorFlow project. In the project overview page, select Artifacts and click on the … button and select Export Artifact:

You have a choice of generating (exporting) the trained model as a TFLite model (for inferencing on mobile devices). Once the model is generated for you, click the Download button to download the model to your computer.

Summary
I hope this article has given you a good idea of what image augmentation is all about and why you need them in the training of your machine learning models. In particular, I have demonstrated it using code (through the Keras module in the TensorFlow library), as well as using a no-code solution like Datature.
I strongly suggest you give the Datature platform a try and see how it helps you to create started quickly and easily on machine learning. Datature is spurring the no-code AI revolution with its platform and is hands-down a game-changer for the computer vision industry. You can easily manage datasets, annotate, generate synthetic data, train and deploy - all in a single, secure cloud-based platform.
.png)
.png)